Begin with one of your dye additives: soda ash, or, as ProChem calls it, "Dye Activator." This is a powder, and is a caustic material: don't breathe it and try not to get it on your skin (wash with water if you do). This product is essentially super-strength washing soda. Wear gloves and keep your face away from the jar as you measure. You'll want to add 1/4 cup of soda ash to a quart jar of water; fill the jar half full of warm (not hot) water, put in the soda ash, stir until it dissolves, then top off the jar with cold water and stir it all together.

When it has fully dissolved, pour the entire quart into one of your garage sale glass dishes: a bowl or casserole dish. Sink your netted, washed cotton floss skeins into it. Be sure they are immersed and leave them for at least a half hour.

Set up a workstation. I've fallen in love with Wal-mart's little fold-in-the-middle white plastic tables (with very sturdy legs). This is my workstation in the corner of my fabulously appointed dye studio. Lay down protective materials over the tabletop. I use heavy clear plastic (available by the roll at the hardware store) and then newspapers over that.

At another place in the room -- another table if you have it, prepared with a protective covering -- lay out strips of plastic wrap. Each strip should be slightly longer than the skeins you've prepared.

After the strips are laid out, cut each strip down the middle.

Back to the workstation: Assemble your jars full of already prepared dye, plastic spoons, and whatever you have at hand to mix colors in: custard cups, baby food jars, bowls, plates. You'll want paper towels nearby. I also like to use eyedroppers. Dharma Trading carries a line of large eyedroppers (6/$3.95) that have far greater capacity than ordinary drugstore eyedroppers. And I like to have a cup or jar to scoop water from the pan of clean water at my feet.

Recently I found a glass deviled egg platter at a thrift shop and it works wonderfully as a palette.

It has unexpectedly changed my work for the better, made my colors far more complex, for it's easy to mix a little of this, a little of that without worrying about creating a whole custard cup full of something that doesn't work.

Have at your feet a waste container (a brown paper bag works well), a pan or pail of water to dilute your dyes and also to rinse your hands in, and a bucket for colored waste water. A word about water: dyes react with the minerals in water, and dye companies recommend using distilled or softened water. I use the water from my basement dehumidifier reservoir, which is distilled water.
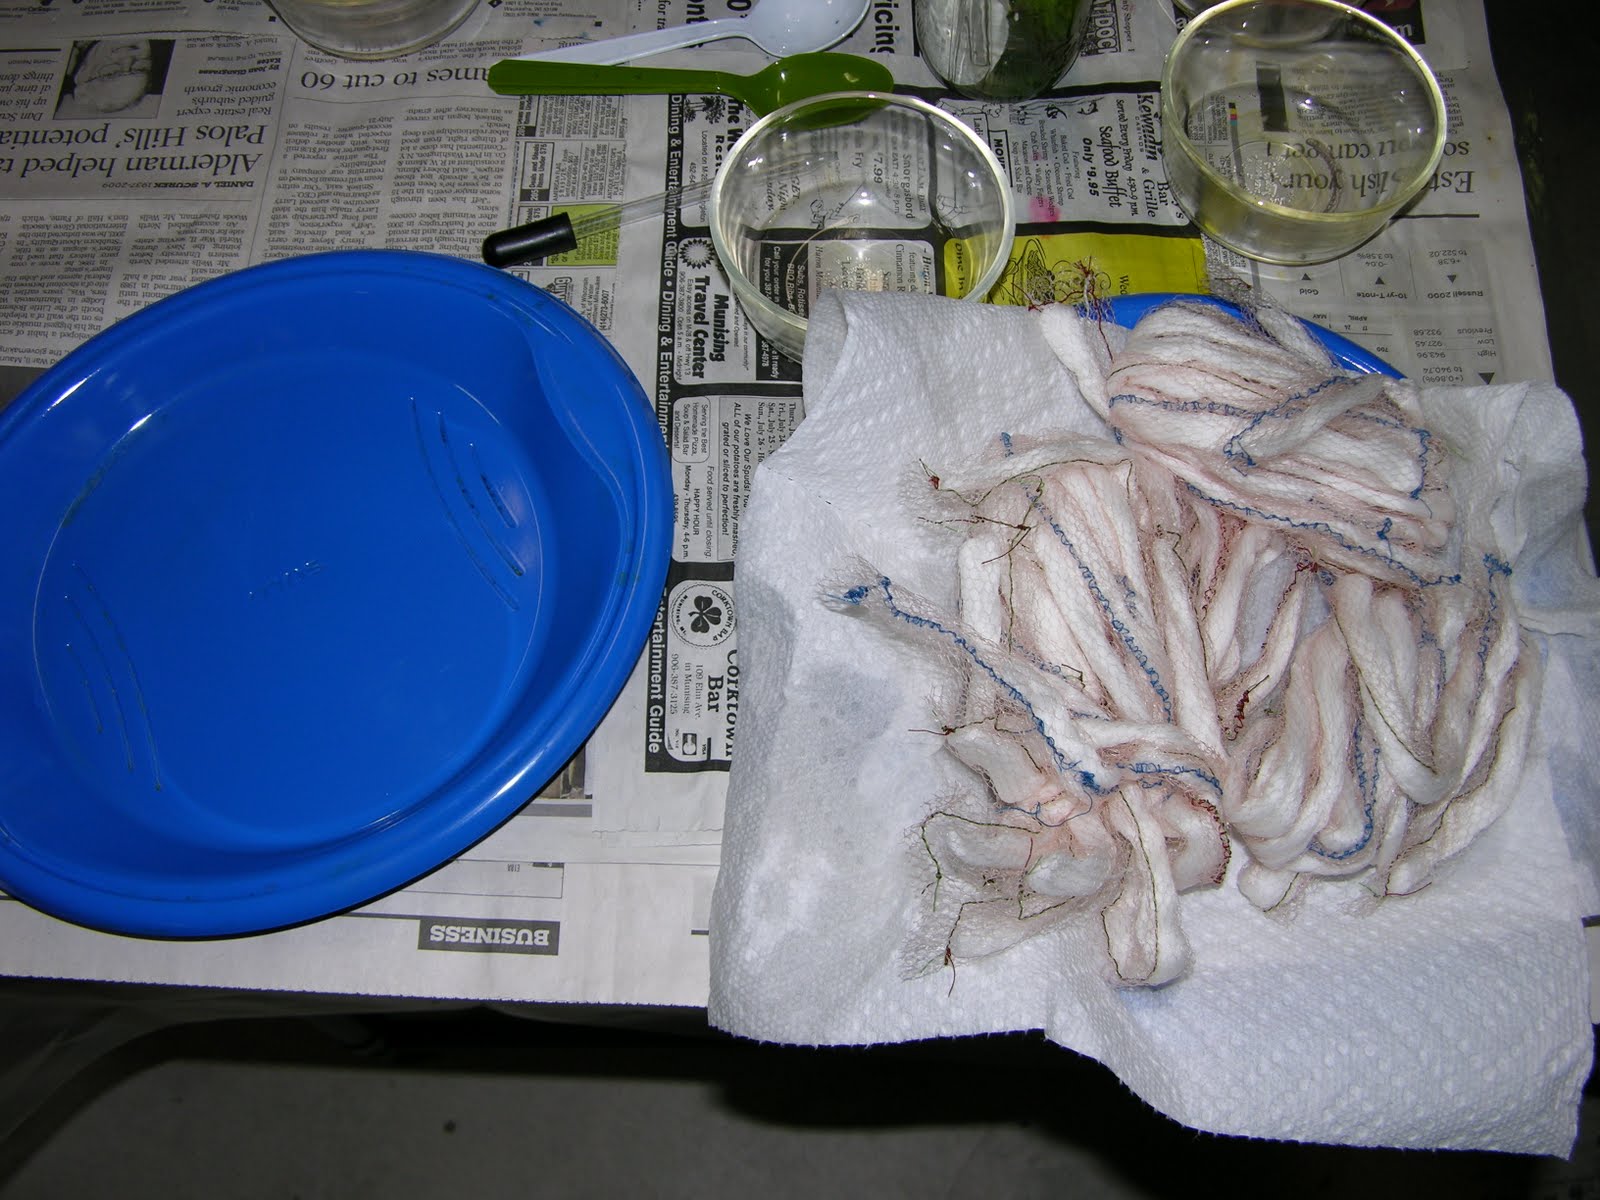
I use large disposable plastic plates to ferry my floss around. One for floss fresh from the soda ash bath, one to carry the dyed floss to the wrapping table.

Open the dye jars you will use in this session and set a plastic spoon in each. I like to have two jars with plain water in them at hand so I can drop stained spoons and eyedroppers into them before the dye dries. You will need something waterproof to hold your skeins while you paint them. I originally used sheets of waxed paper, and then a repairman replacing the glass in my oven door offered me a second pane of oven door glass he'd brought by accident saying he'd dispose of it if I didn't want it. It's double-thick and the edges are sanded -- it's been a wonderful addition to my workstation.

Bring your plastic plate over to the skeins soaking in soda ash. Take the skeins out a handful at a time, squeeze them dry and bring them all on the plate to your workstation. Lay three of them out on the waxed paper or glass, and you're ready to begin.
No comments:
Post a Comment